Projects

Blog Archive

Showing posts with label recycle. Show all posts

Sunday, September 26, 2010

Sick kids and Lazy Projects

I have taken a much needed break from Blogland.  Boy I felt a little out of the loop for a while, but I have to say, it was nice not having to sit in front of the computer staring at the screen.  My kids were sick the majority of last week and just when I thought we were in the clear, my Little Man throws up on Friday evening all over a restaurant.  Poor guy. We don't go out to eat much, and this was supposed to be a SPECIAL Birthday dinner for our oldest.  The restaurant was in the next town over approx. 15 mins. away, and it took us well over an hour to get home, from having to pull over on the side of the road (twice).   Luckily I had a ziplock baggie in the car to catch just about everything.  Sigh.  Here's hoping it doesn't spread. :)

I didn't have enough candles, so the star candle represents age 10.

So, while away from the computer, I did do a little bit of crafting, lazy crafting is what I call it.  Even though it's 100 degrees outside and will continue to be for the week, I finally got down some of the Halloween decorations for the kids to enjoy.  At least it put a smile on their faces. 

Also, if you haven't heard yet, there are a few Super Cool Silhouette giveaways going on right now!  Check 'em out!


I decided to get out some of the recycled baby jars and have a little fun with them. Here are two examples of what you can use them for!


All I did was cutout and ModgePodge some expressions onto a baby food jar.  I found the middle candle holder at the local Thrift Shop.


This next example took a tad bit more work, but not much.  The kids drew faces onto ConTac paper and we cut them out.  Placed them on clean baby food jars and spray painted the jars black.   Let them dry and peel the stickers off. Fun. Easy. Fast.

I guess these would be much cuter if I had rafia or some fun ribbon to tie around the top.  Unfortunately, I don't have any on hand. 

I took a foam orange pumpkin and spray painted it Antique White.  Somehow it turned out glossy looking and I totally got lucky because it looks like porcelain!


Monday, August 30, 2010

Painted upfashioned T's using Freezer Paper


Today is the first day of school for my little boys.  They were a little apprehensive on going back to school, so I let them pick out a clipart off the web of something that makes them smile and decided to upfashion one of their T-shirts, for their first day.  They were super excited to wear their new T-shirts to school!  My boys are really into characters and graphics on their shirts and socks, so I pulled out a few of their plain T's and started working on them.

Materials:
Plain T-shirt
Fabric paint (or plain acrylic paint with some textile medium)
Paint brush
Freezer paper
Fine point exacto-knife
Iron and Ironing board
Printout of your template

I found this cute spacedog online and used MS Word to add the wording.

Place the piece of freezer paper (shiny side down) over the image 
and start cutting out every negative space (the black part of the drawing).  
***Remember*** to save the little pieces of positive space 
(the white part of the drawing) if you are forced to cut it.  
(i.e. the tail of the dog)

Use your hot iron to iron on your T-shirt.
Include the little pieces too.

Just another photo with the included pieces.

Use your paint and paint brush to paint the open spaces. I also used a piece of parchment paper to put underneath the shirt so that if any
paint leaked through the shirt it wouldn't damage my ironing board.

Peel off the paper after it's dry and put a piece of cloth over the top of the
image and iron to seal in the paint.

Both boys wanted the same image, so I was able to use my template twice, 
but after that, it's no good.

Thursday, August 26, 2010

2-Tier dessert tray (yet another one)


Okay now, this totally goes against my grain, but I decided to go for it. Now that I have a girl, I need to think *girly* things and *girly* colors. (snicker)  I'm a bluejeans and cotton T-shirt kind of gal.  I enjoy the outdoors so much that my feet are often black and my hair looks like a bird's nest from the wind.  Sounds like marriage material, right? And let me be the first to tell you that "Grace" is not my middle name, sigh.

I'm excited because I finally found that missing china piece to finish my long ago find from the Thrift store.  It's the fanciest I've ever made anything.  I usually go all rustic looking and call it art, but it was fun trying to make something special for a special little girl to enjoy one day. OH, don't get me wrong, I'm still taking this puppy to all the potlucks and hoedowns, but I did have a certain little misses in mind when making it.  She will be thrilled to invite all her brothers and Papa for tea when it's her turn to use it!

Wednesday, August 25, 2010

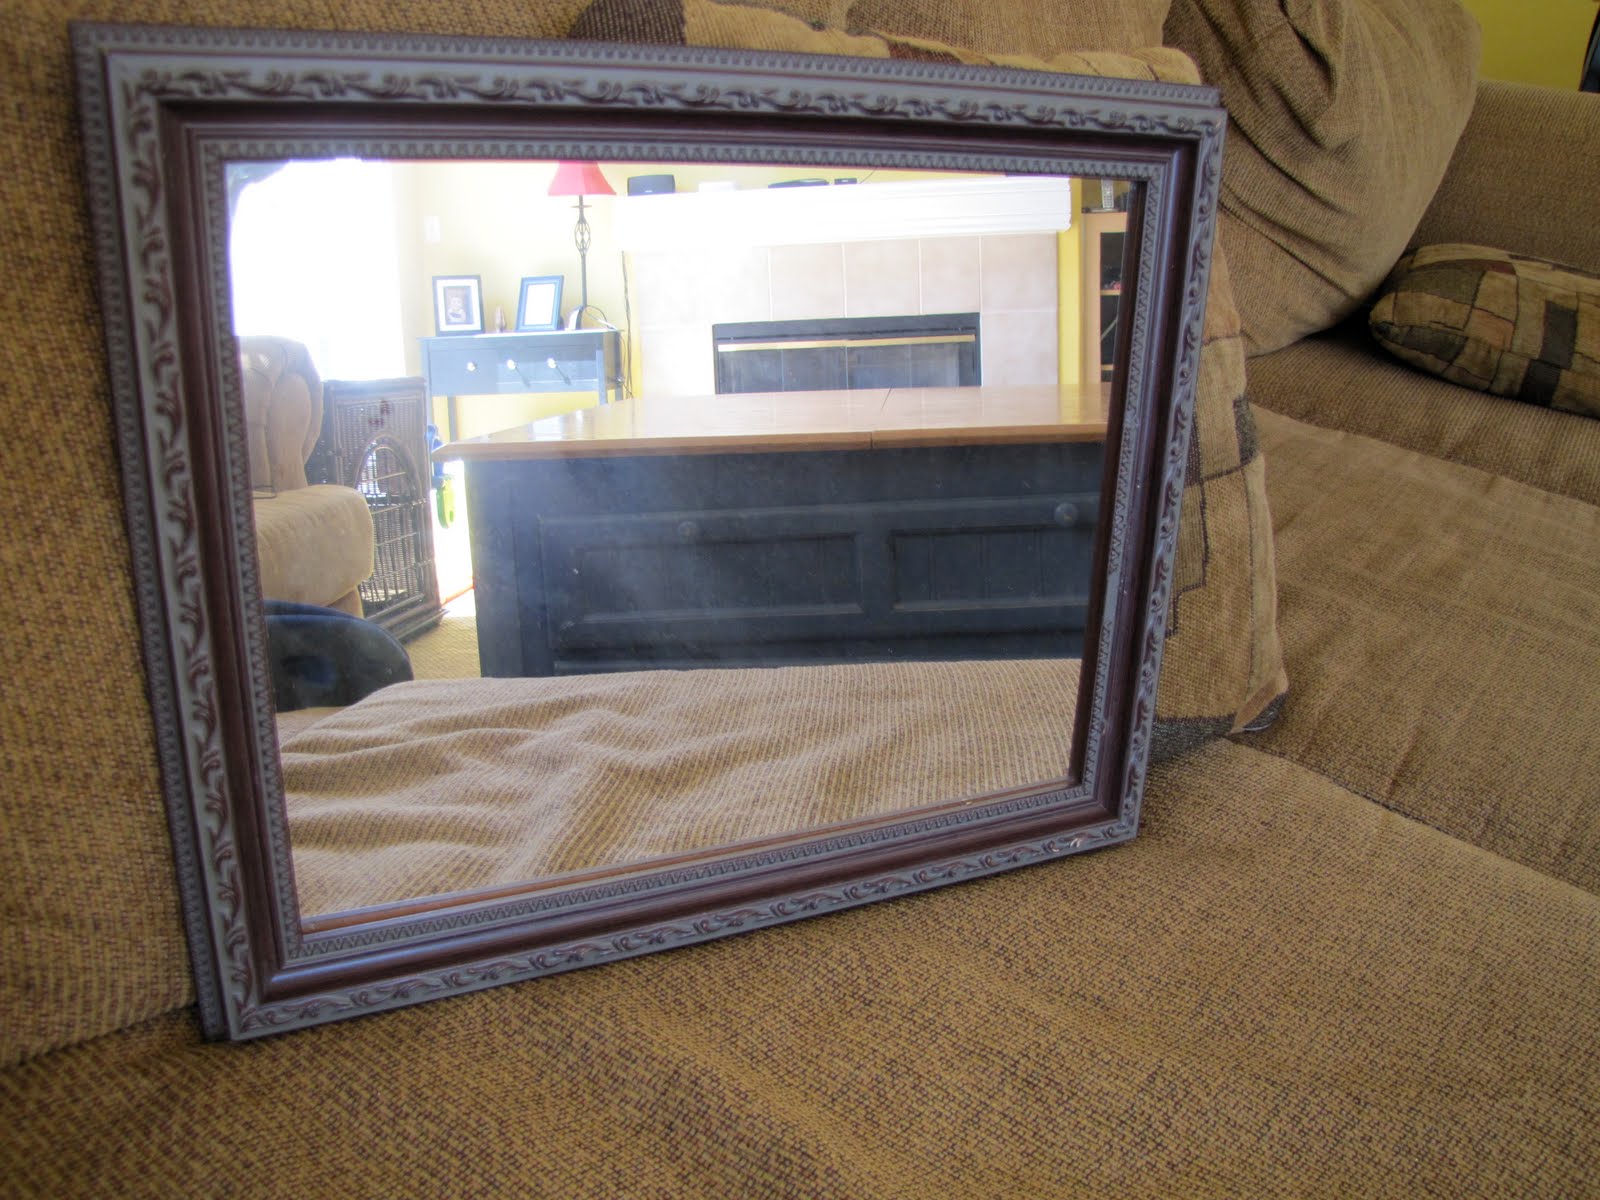
Frame redo: Mirror to Erasable Artwork


BAH! Who needs vinyl?? I do! I do! But I'm not yet ready to pay for it. :(  Oh vinyl how I long for you and what elegance and sophistication you can bring to my household.  Ah well, I guess I can work on the other 50 million projects I have on hand and worry about the vinyl another day. sigh.  Really with all the super cool gadgets and swift and quick and easy vinyl projects I've seen, I'm really eyeballing the vinyl a lot lately.  Guess I need to focus here. I have a tough time doing that lately.

Here's another frame transformation.  Your probably thinking, like you really need another frame redo, but truthfully, it's what I have on hand and it was a fun project to do. Besides, I have a little sweetpea with an undo of a room, if you know what I mean, no?

Materials:
Picture frame - mine just happened to be a mirror
Spray paint
Template - I just made my template in MS Word
Chalkpen - your choice of color. I ordered a set off of ebay for super cheap. They work with glass, chalk board any many other surfaces.
Ribbon


Take mirror out and spray paint it whatever color you desire or have on hand. (I had white)


Note: Since my frame came with a mirror, I used the plastic mylar insert from my magnet board project and cut it down to size.

Used a dry erase marker to mark where I needed to cut.
Used the back of the mirror as a template.

Place plastic sheet or glass in frame and lay your template under it.
Trace template using your chalk pen.
Add ribbon for hanging.


The best part about this is that it's permanent for as long as you like.  If it didn't work out as planned, just erase and start again!

Saturday, July 24, 2010

Paper Flower


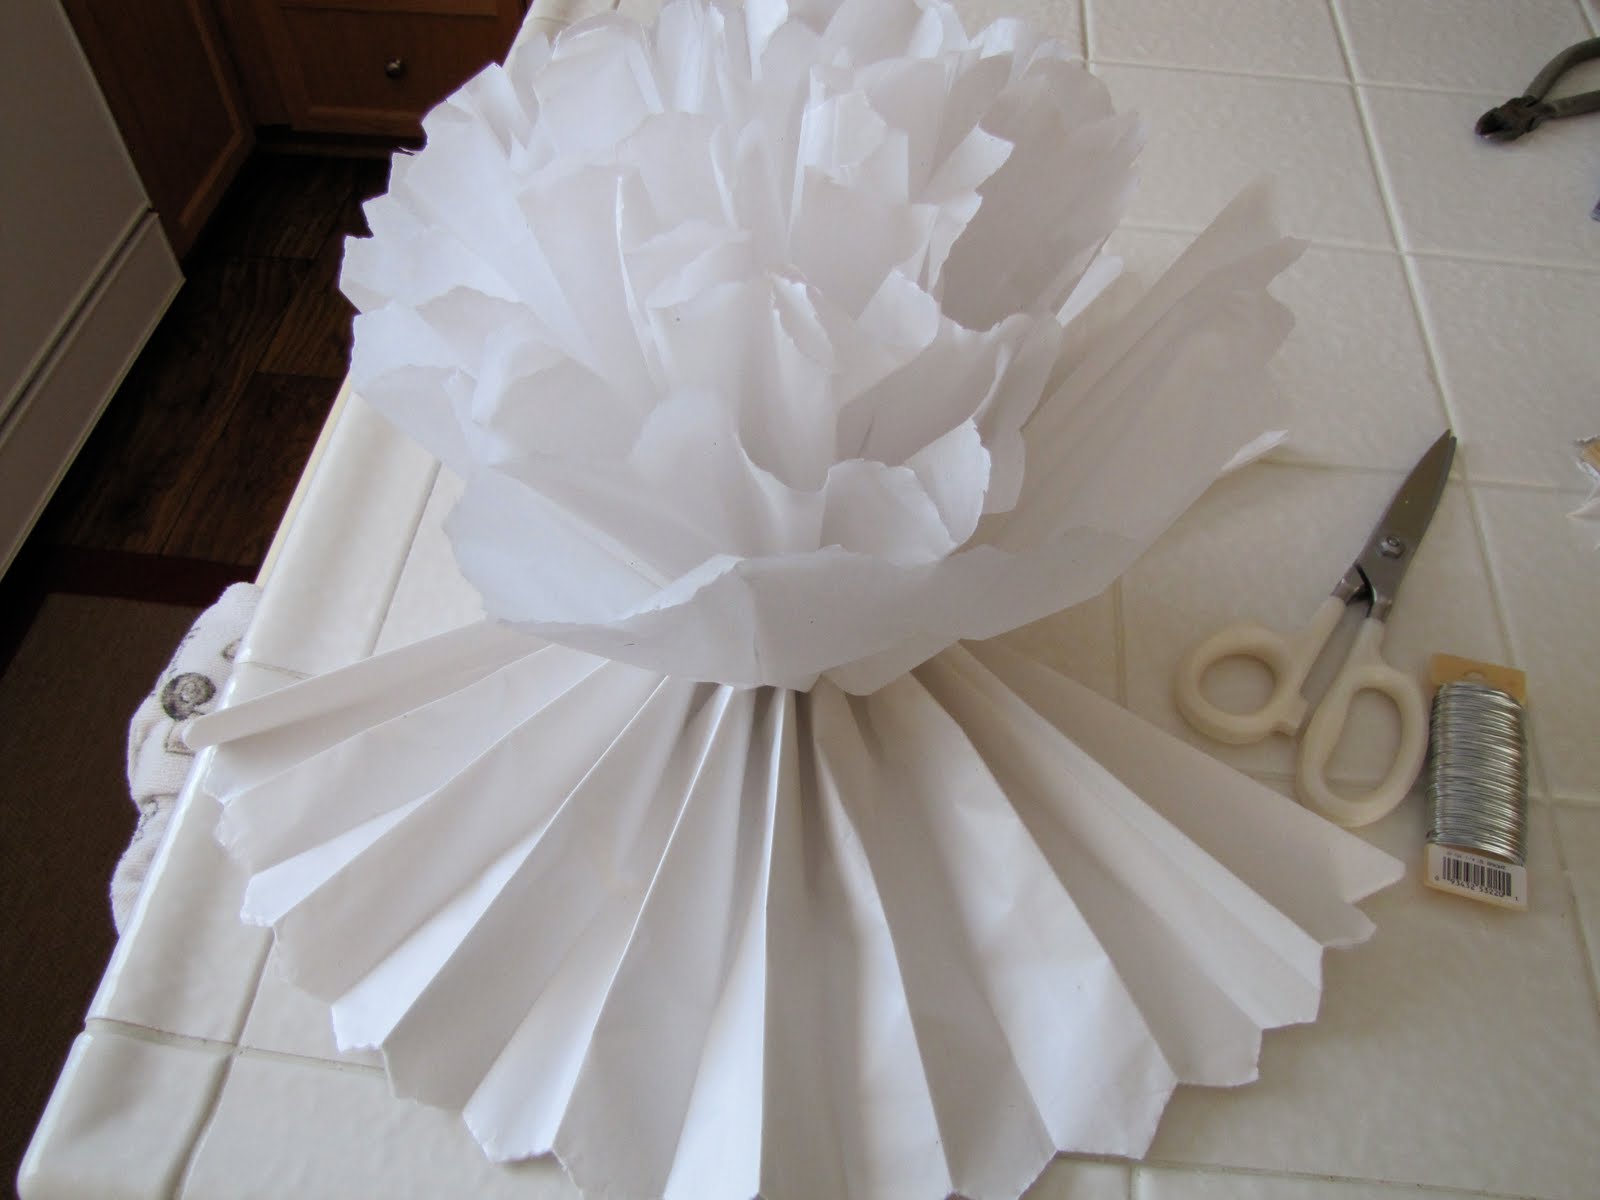
As viewed on Martha Stewart.

As a child.  I remember making these out of kleenex.  I would fold them up like a fan, tie them up with a pipe cleaner and open them up to reveal a beautiful flower.  I remember spraying them with perfume to make them smell nice.   I loved giving them away as small gifts to people.  This is the same exact technique but on a much LARGER scale.  Using  7 layers of tissue paper (the kind used in gift bags) and some small guage wire instead of a pipe cleaner.


Pallet Envy


Wood pallets are everywhere!  I've seen a few posts of people trying to get rid of their wood pallets, so I figured I could try and make something out of them!  What I didn't realize is that, there are several different styles and types of wood pallets.  Little to my dismay, I ended up with some super heavy duty sturdy rugged looking pallets.  I was thinking something lighter and easier to disassemble.  Nope.  So I've got these two wood pallets and now all my wonderful plans for using the wood has gone down the drain due to the nature of the thickness of the wood.  I first tried a saw-saw to cut through the 2x4 and to my luck, I barely made a dent.  Sigh.  Then I tried using a hand saw and nada.   So, all in all, with the help of my handy dandy Husband, we were able to turn this hard wood pallet into a nice outdoor shelf.  I LOVE my new outdoor shelf and I enjoy admiring it from the Kitchen window!  I can't wait until the weather starts it's magic on the wood!


For some nifty ideas of what other's have done with a wood pallet go visit:

Art of Upcycling: 20 DIY Wood Pallet Reuse Project Ideas
DIY Life Repurposing Pallets

No Solicit Sign

I get a lot of solicitors in my neighborhood.  It's not easy for me to say "No" to everyone who drops by, so I've decided to make it easier on myself and make a No Solicit sign.  I realize this may not be for everyone, but it sure does cut down on the interruptions of the day and from my little ones running straight out the door when I open it.

I recently scored a bottle of Sophisticated Finishes - Iron Metallic Surfacer and Rust Antiquing Solution from a fellow Freecycler in town.  I was curious as to what to use this for, but after having tried it on a few things, I'm totally hooked!  This is not needed for this project but I did use it.

Materials Used in the project:
1 Large rock
1 Paint brush
 Black paint (I used a can of spray paint)
White Acrylic pain
Computer print out of the words "No Soliciting Thank You" **Print the words backwards**
Scissors
Tape
Chalk
Pencil

Pick out a perfect size rock

Paint it black

Color the back of paper with chalk

Cut, tape and trace with pencil
See chalk outline?
Paint your words white

I used the lead iron and rust on the remaining portion of the rock to give it an old effect.  Although it doesn't show up as well on camera.

Tuesday, June 8, 2010

Diaper box to Storage box

I'm in the mood for some organization. The cute storage boxes at the store are a little pricey for me. I don't want to pay the prices for them. Yes, they are cute and yes, they will hold all my children's nik-naks but I just won't pay the price for them. I have a ton of empty diaper boxes, so I thought I would turn them into my new handy storage boxes.

SUPPLIES:

Scissors, binding or ribbon, colorful fabric, plain fabric, craft glue, school glue and Fabri-Tac


1. Cut off all the tabs of the diaper box.

2. Lay out the colorful fabric for the sides

(side with the handle) and tack onto the box with regular school glue.

3. Lay out and cut the plain fabric to go all the way around the long side of the box including the bottom. Tack it down with school glue and tuck in the colorful fabric sides into the plain fabric at the seams.
4. Use the Fabri-Tac glue on all the seams and also on the binding/ribbon for the seams.
5. Cut out handle holes and craft glue it down.
6. Craft glue down all ends that are inside the box.


Tuesday, May 18, 2010

Picture Frames


I think it's time to get out all those old frames and fancy them up or put them to good use!

There are so many projects out there for your cheap or old frames and making them new again! I think I'll have to go slow with this idea. One thing at at time. I love every idea I have run across, so much that I just want to dive into them all at once!

I first started with my "To Do List" picture frame!

Materials:
Picture Frame - any size
Pretty fabric for the inside of the picture frame
Dry Erase Marker
Velcro